WordPress has officially crossed 40 percent and is now powering more than one-third of the web.
It’s an Oprah Winfrey in the world of web hosting, reliable with a stellar reputation and extremely loyal users. There are numerous businesses that use it to run their site and we believe it’s a great idea for almost anybody to build a site using WordPress.
Now, you may ask yourself, how to create a website from scratch? Well, there are a few steps to create a website, especially when it comes down to steps to create a WordPress website, which can be done by yourself. However, the process of creating a website can be daunting if you’ve not done it before but believe us when we say that the times have changed. Steps to create a website are faster, more affordable, and more simple than ever before.
In this tutorial, we like to discuss how to make a WordPress website in 2022.
How Much Will be the Cost of a WordPress Site?
If we’re going to do the cost breakdown for a WordPress website here’s what we need to include:
- Domain registration costs: start at just $10/year
- Hosting acquisitions: Prices begin at as low as $8/month
- WordPress theme: It’s up to you but based on the degree of customization you want to make and the number of features you’d like to incorporate it is possible to start with a minimum of $0. If you’re not looking to go with a simple website, annual WordPress themes cost around $70 or you can use and hire the best WordPress website design company to create a fully customized WordPress theme for you.
- WordPress plugins: Most are available free, however for the most advanced features, you’ll need to upgrade to a paid plan.
The most basic website can be priced at $23 per year. When you are looking for more premium features for your theme it will cost you up to $100 per year.
When you upgrade your plugins you may end up paying about $200-500 per year.
If you need something that is custom-designed and need to contact a WordPress development company, the cost could exceed $1000 in the initial year.
When you have a store online, the cost can be a lot higher, since you require a lot of functions, and performance, as well as security, are at the top of your list.
Once we’ve cleared this up now, we can explore the depths of the matter: how to create a website for a business with WordPress.
4 Steps to Make a WordPress Website
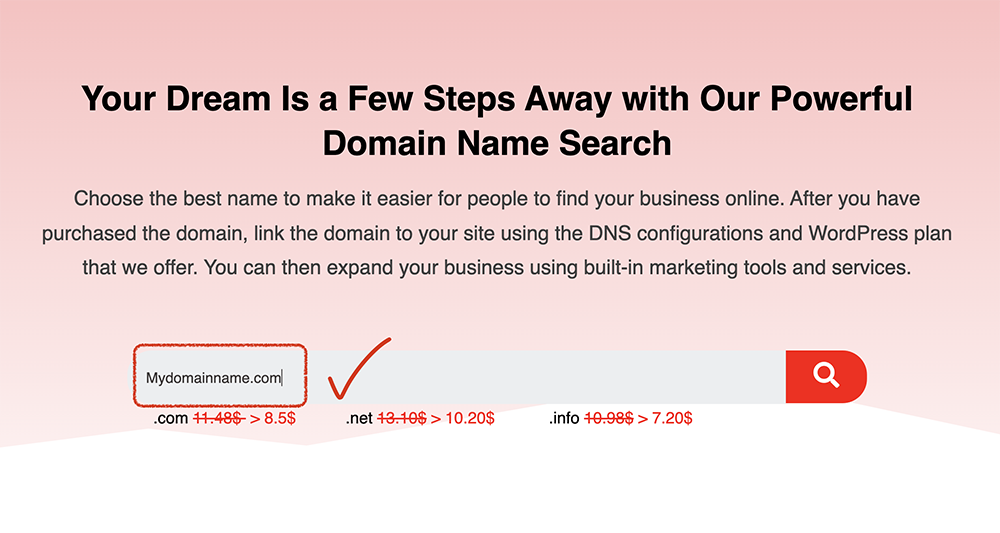
Step 1. Choose Your Domain Name

If you weren’t aware of this Domain names are your company’s name or address. Names can be extremely powerful so don’t make rash decisions when you choose your domain name. If you’re experiencing uneasy feet, you can always use domain name generation tools that’ll help you with coming up with a nice name using the keywords you feed it.
Tips and Tricks for Choosing a Domain Name
Ensure that your name is distinctive and memorable. It shouldn’t be a snobbery that is not in English or another widely spoken language (eg: Spanish) if you plan to expand internationally. If you’re a local-based business it’s possible to avoid this.
Let’s take at a small list of tips for selecting the domain name you want to host the WordPress website:
- Create a list of pertinent terms: for your company or product. Consider how users would feel after using the product. Let’s suppose you have an entire line of skincare products made of natural ingredients. Your list may include terms such as “skin”, “care”, “safe”, “natural”, “beautiful”, “fresh” etc. Make use of a tool like Namelix as well as Novanym to come up with domain name concepts.
- Find out the significance: of your newly discovered domain name. You’d have to do a complete search of what your domain name means and do a quick search in Google to make sure there aren’t any funny meanings in either the pictures on Google or dictionaries.
- Search for the domain’s name: Look for the domain name. For example, Facebook and LinkedIn to determine whether there’s a business page under the same name.
- See if there’s any domain for your website that is for purchase. For a lot of websites, “.com” is the most popular highest level domain (TLD) and is then “.org”, “.net” or “.io”.
- Buy your domain name. You can do this via the domain registrar page that we offer and some of our VPS hosting solutions come with a free domain name.
This leads us to the next chapter.
Step 2. Acquire Website Hosting
Every site you’ve ever visited is hosted by a server. That means you’ll have to purchase WordPress hosting services from a host.
Since we’re creating a WordPress website, you may select a hosting plan through our WordPress hosting page and choose either a VPS or cloud to start. Or you can simply use WordPress to host your first website for free.
However, there is wordpress.com along with wordpress.org. The distinction is that WordPress.com allows hosting and creating websites. With WordPress.org you typically purchase themes and plugins to build your site, and it is hosted elsewhere.
The premise of this guide is that you want to establish a brand and be in complete control of your website. That means you’ll use third-party hosting providers.
There are three primary hosting options including hosted hosting shared, VPS as well as managed hosting. In the first case, server resources are divided across multiple websites. In the end, the sites that are growing and so do yours may experience problems with performance. It is possible that you require a VPS service or managed to host plans.
Therefore, it is important to keep this in mind when selecting the right hosting service: what are your company’s goals?
If you opt for VPS hosting, the resources remain distributed, however, you’ll be able to gain some control over the resources. There will be improvements regarding security, performance, and security, too.
Managed hosting is it’s an “a la carte” service. You’ll have your server, all to yourself, and experience a rise in speed and security. Things indeed become way more difficult than it is, but for now, we wanted to draw the overall image of hosting.
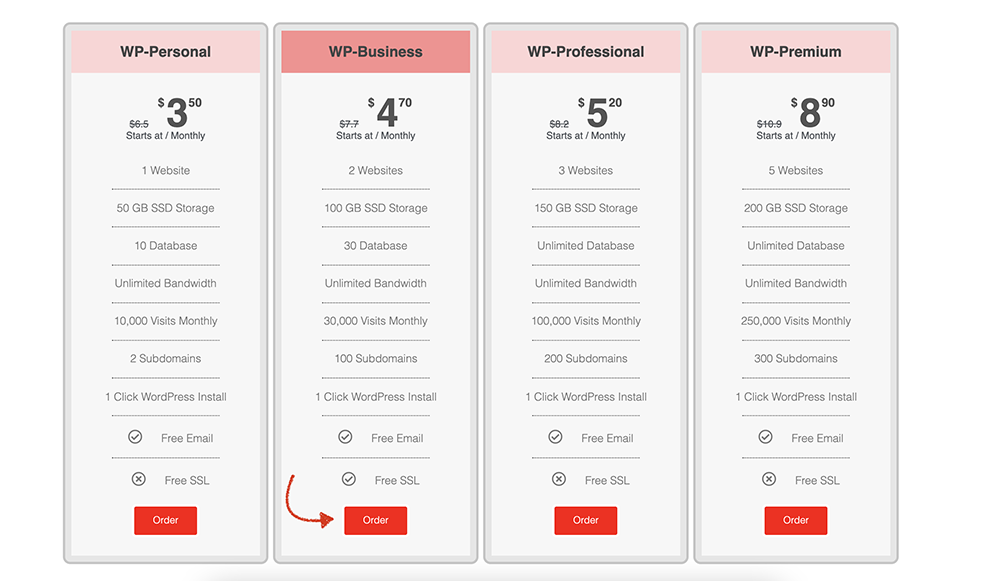
When you are analyzing the plans, you should take a close look at:
- Pricing
- Storage
- Support
- Performance
Some hosting providers offer additional features, such as domain offerings (eg: Namecheap), website builders (eg GoDaddy) E-commerce, and more.
Perhaps you’ve seen some websites that are using “HTTP” or “HTTPS”. What’s going on?
HTTP is the backbone of the web’s modern. It connects web browsers and servers and works on a response-to-request basis. This time, the additional “s” means the connection to the site is secured and the data that is shared by the website is safe.
Let’s say that a customer can pay you via your website or create an account. The information that the user is required to enter will be confidential. Protected from hacking. This is accomplished through SSL technology which is “Secure Sockets Layer.” For customers, the word “HTTPS” signals trust, because it protects your data and privacy. That means you’ll need to obtain the SSL certificate.
Be sure that the plan you choose has this feature included.
Once you’ve signed up for your hosting plan and you’ve set up your login credentials the only piece that’s left will be WordPress itself. The majority of hosting companies provide the ability to install WordPress through their dashboard or wizard. It’s pretty simple.
Step 3: Use a Theme or Design for Your Website

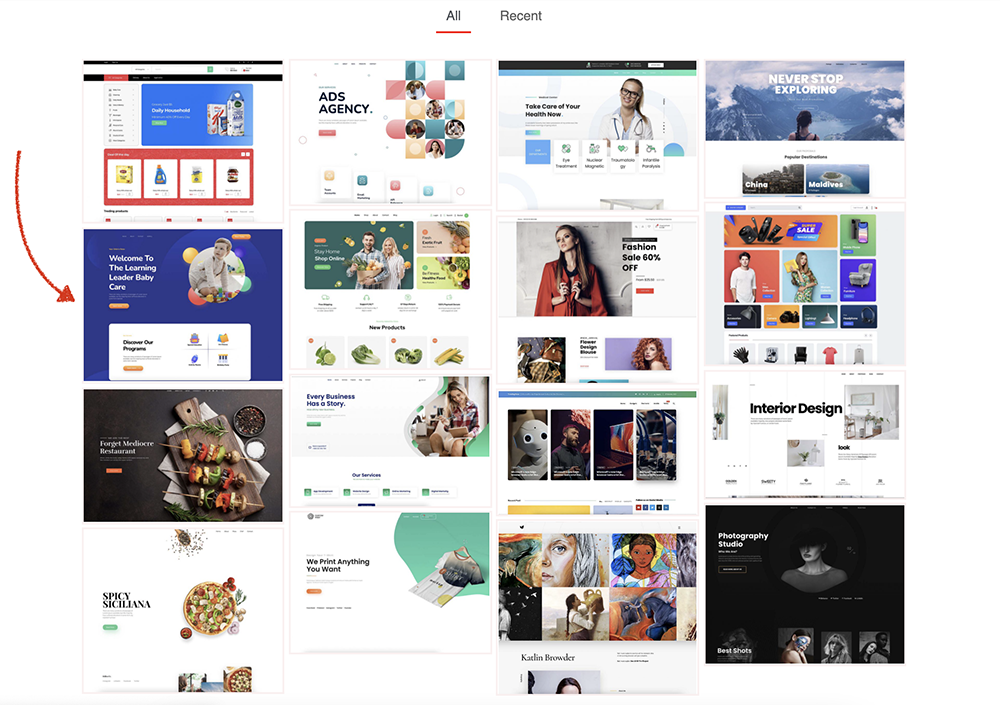
There are hundreds, if not thousands, of WordPress themes available.
Start by looking through the official directory on WordPress.org. However, there are a variety of marketplaces and themes like ThemeForest or WordPress website design companies that offer unique and customized themes just for your WordPress site. You can browse through the sites available and choose the one you love the most.
Install Your Chosen Theme
If you choose one of the themes available in the official directory on WordPress.org All you need to do is click install immediately. Here’s how to do it:
Click on Appearance Then click on Appearance, then Themes Click the button Create New. Type the name of the theme you wish to install into the search bar, then click the Install button next to the chosen theme.
After installation, click “Activate” to allow the feature on your site.
If you’re planning to use a theme purchased by a trusted third-party vendor the procedure will differ.
Here’s how to set up a premium theme for your website:
- Begin with downloading the .zip file for the new theme.
- Log into Your WordPress dashboard, then navigate into Appearance Then Themes.
- Select the “Add New” option. You’ll then be taken into your WordPress Dashboard for the theme.
- Select the blue button located on the right, which reads the Upload theme. Select the .zip file that you downloaded from your computer following the prompt.
There will be a link to activate your team following a successful message. That’s it!
Step 4: Set up Important Webpages and Promote Your Site

Once your website is up and running now, you can concentrate on creating content of high quality which will increase your conversions and traffic. Begin by creating the essential pages such as About, Contact Form, privacy, policy, portfolio, and Store (if relevant).
We cannot stress enough how important it is to optimize the web content with relevance to the niche you are in. Therefore, make sure to conduct extensive research to ensure you get the details right.
Conclusion
This is all you need to make a WordPress website in 2022. In the end, you’ll be able to have a domain as well as a reliable web hosting service with us and a fully functional operating website. Be creative in your area and you’ll soon build an enduring fan base who respects your opinions or are awed by your service or products.

Leave a Reply