Subversion (SVN) is a powerful open-source version control system. For developers using a Virtual Private Server (VPS) running CentOS and managing their server via cPanel/WHM, integrating SVN can streamline deployment and collaboration. This article in server guides category, provides a step-by-step guide to installing and configuring SVN on your system.
Prerequisites
Before beginning the installation, ensure you have:
- A VPS running CentOS (e.g., CentOS 7 or 8).
- Root access (or a user with sudo privileges) to the server via SSH.
- The cPanel/WHM control panel installed and accessible.
- Basic familiarity with the Linux command line.
If you’re looking to enhance your website’s performance, you might want to buy VPS server hosting for more reliability and speed compared to traditional shared hosting.
Step 1: Install Subversion via YUM
Subversion is available in the standard CentOS repositories, making the installation straightforward using the Yellowdog Updater, Modified (YUM) package manager.
- Connect to your server via SSH:ssh root@your_server_ip
- Install the Subversion package and its dependencies:yum install subversion -y
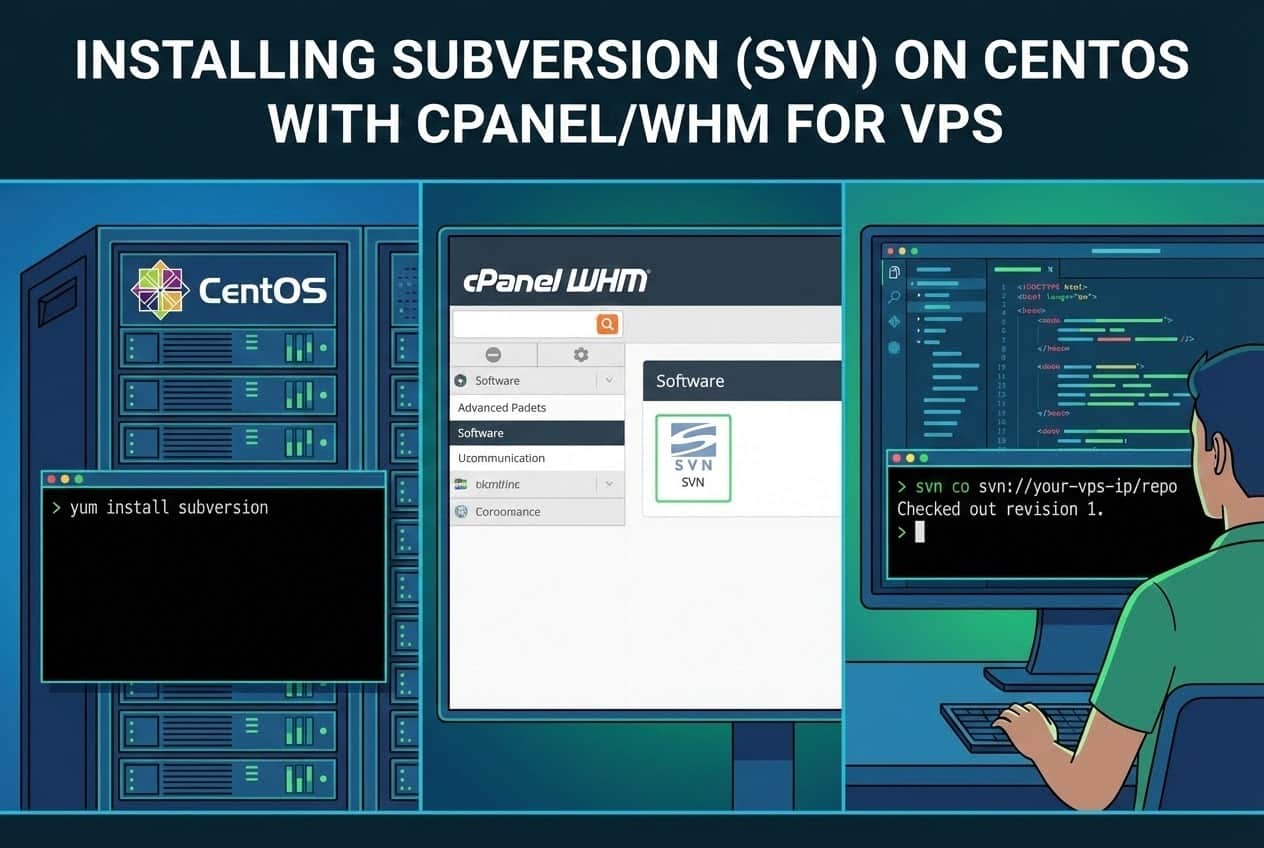
- Verify the installation by checking the SVN version:svn –version
This command should output the installed SVN version details, confirming a successful installation. For those looking for cPanel hosting services that come with SSH access and Subversion installed, you can easily manage your projects with enhanced security and version control right from your hosting panel.
(Image 1: Screenshot showing the successful output of svn –version command)
Step 2: Create the SVN Repository
Now that SVN is installed, you need to create a dedicated directory for your repository. It’s generally best practice to place repositories outside of the standard web-accessible directories (like /home/user/public_html). A common location is /svn or /var/svn.
- Create the parent directory for your repositories:mkdir /svn
- Create a new repository (e.g., named myproject) within that directory:svnadmin create /svn/myproject
- Verify the directory structure. The command above creates several files and folders (e.g., conf, db, hooks) inside /svn/myproject.
Step 3: Configure User Authentication and Authorization
To secure your repository, you need to define users and their access levels. This is managed within the configuration files located in the repository’s conf directory (/svn/myproject/conf/).
- Edit the svnserve.conf file to enable authentication and define the authorization file:
nano /svn/myproject/conf/svnserve.conf
Uncomment (remove the # symbol) or modify the following lines:
anon-access = none
auth-access = write
password-db = passwd
authz-db = authz
realm = My Project Repository
- Edit the passwd file to define usernames and passwords:
nano /svn/myproject/conf/passwd
Add your user credentials in the format

username = password:[users]

developer1 = securepassword123

manager = anothersecurepass
- Edit the authz file to control access permissions for users and groups:
nano /svn/myproject/conf/authz
Define groups and assign permissions (r=read, rw=read/write):

[groups]

devs = developer1, manager

[myproject:/]

@devs = rw

* =
This configuration grants read/write access to all members of the devs group for the entire repository (/) and denies access (* = ) to everyone else.
(Image 2: Screenshot showing the edited contents of the authz file within the nano editor)
Step 4: Run Subversion as a Service (svnserve)
SVN needs to run as a daemon (service) to allow remote connections.
- Start the SVN service using the svnserve command. Use the -d (daemon) and -r (root) flags, pointing to the parent directory of your repositories:svnserve -d -r /svn
This command makes all repositories under /svn/ accessible.
- (Optional but Recommended) Configure SVN to start automatically at boot using systemd.
Create a service file:
nano /etc/systemd/system/svnserve.service
Paste the following content:
[Unit]

Description=Subversion Daemon

After=network.target

[Service]

Type=forking

EnvironmentFile=-/etc/sysconfig/svnserve

ExecStart=/usr/bin/svnserve -d -r /svn

ExecStop=/usr/bin/killall svnserve

User=root

Group=root

KillMode=process

[Install]

WantedBy=multi-user.target
Reload the systemd manager configuration, enable, and start the service:systemctl daemon-reload
systemctl enable svnserve

systemctl start svnserve
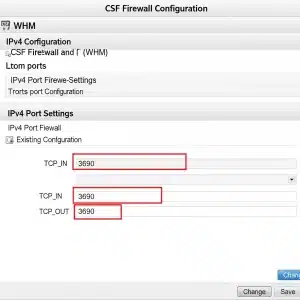
Step 5: Configure the Firewall (cPanel/WHM Integration)
By default, SVN uses port 3690. You must open this port in your firewall (usually firewalld or CSF/LFD if managed by WHM) to allow external access.
Using firewalld (Standard CentOS Firewall)
If you are using firewalld, run the following commands:
firewall-cmd --permanent --add-port=3690/tcp

firewall-cmd --reload
Using CSF/LFD (Common in cPanel/WHM)
If your VPS uses the ConfigServer Security & Firewall (CSF), you will need to add port 3690 to the allowed TCP ports. For better security & service, it’s a smart choice to order managed VPS with cPanel because it simplifies management and boosts protection. Plus, having CSF firewall installed adds an essential layer of defense against unauthorized access and threats.
- Log in to WHM (Web Host Manager).
- Navigate to Plugins -> ConfigServer Security & Firewall.
- Click Firewall Configuration.
- Find the TCP_IN setting and add 3690 to the list of ports.
- Click Change and then Restart CSF/LFD for the changes to take effect.
(Image 3: Screenshot of the CSF Firewall Configuration page in WHM, highlighting where port 3690 is added)
Conclusion
Your Subversion server is now installed, configured, and accessible! Developers can now connect to your repository using a client (like TortoiseSVN or command line) via the URL: svn://your_server_ip/myproject. This setup provides a robust foundation for version control on your CentOS cPanel VPS or dedicated server you own.
FAQs
What is Subversion (SVN) and why should I install it on my VPS?
Subversion (SVN) is a popular version control system that helps you manage changes to your source code and files efficiently. Installing SVN on your CentOS cPanel VPS allows you to keep track of project history, collaborate with your team seamlessly, and ensure that you can roll back to previous versions if needed. It’s a vital tool for developers who want robust version management on their server.
Is Subversion (SVN) compatible with CentOS and cPanel?
Absolutely! SVN works well with CentOS, and although cPanel doesn’t provide a built-in SVN management interface, you can easily install and configure SVN on your VPS. Once installed, you can access SVN repositories directly via the command line and integrate it with your development workflow.
How do I install Subversion (SVN) on my CentOS cPanel VPS?
- Connect to your VPS – Use SSH (for example, via terminal or PuTTY) to access your server.
- Update your system – Run
sudo yum update -yto ensure your packages are up to date. - Install Subversion – Use the command
sudo yum install subversion -yto install SVN. - Create a repository – Decide where to host your SVN repositories, then create one using
svnadmin create /path/to/repository. - Set permissions – Make sure the SVN user has appropriate permissions on the repository directory.
- Configure access – You can configure HTTP(S) access via Apache or use SVN protocols for repository interaction.
How do I manage SVN repositories on a cPanel VPS?
While cPanel doesn’t offer a graphical SVN interface, you can still manage SVN repositories by:
- Using the command line for repository creation, commits, and updates.
- Setting up Apache with mod_dav_svn for HTTP access to SVN repositories.
- Utilizing third-party SVN management tools or web interfaces if you prefer a GUI.
Related Article: How to Install Apache on CentOS
Can I secure my SVN repositories on a cPanel VPS?
Security is crucial. You can protect your SVN repositories by:
- Setting up authentication using Apache’s
htpasswdfor HTTP(S) access. - Restricting repository access to specific IP addresses.
- Enforcing SSH key-based authentication if using the
svn+sshprotocol. - Regularly backing up your repositories to avoid data loss.
Will installing SVN affect my existing cPanel setup?
Installing SVN and its dependencies generally won’t interfere with your cPanel environment. However, it’s always good practice to back up your VPS before making significant changes. When configuring SVN for web access, be careful to avoid conflicts with your existing Apache configuration managed by cPanel.
Where can I find more help if I get stuck?
If you encounter problems, consider these options:
- Check the official SVN and CentOS documentation for detailed guides.
- Explore cPanel forums and community support for VPS-related questions.
- Contact your hosting provider’s support team for assistance.
- Look for tutorials and videos online tailored to CentOS SVN installation.
Leave a Reply